Introduction:
The Snipping Tool Windows is a powerful and versatile tool allowing users to capture screenshots easily. Initially introduced in Windows Vista, it has become an essential utility for those who need to capture specific portions of their screen, annotate, and share their screen captures. This article provides a comprehensive overview of the Snipping Tool Windows, its features, how to use it, and some tips and tricks for getting the most out of this handy tool.
What is Snipping Tool Windows?
Snipping Tool Windows is a screenshot utility that comes pre-installed with the Microsoft Windows operating system. It allows users to capture a portion of their screen, an active window, or the entire screen. Unlike the “Print Screen” button, which captures the whole screen or an active window to the clipboard, the Snipping Tool Windows offers more flexibility in selecting the area to be captured. This tool helps create tutorials, document issues, or share information visually.
Key Features:
The Snipping Tool Windows is equipped with several features that make it a preferred choice for many users. Some of the key features include:
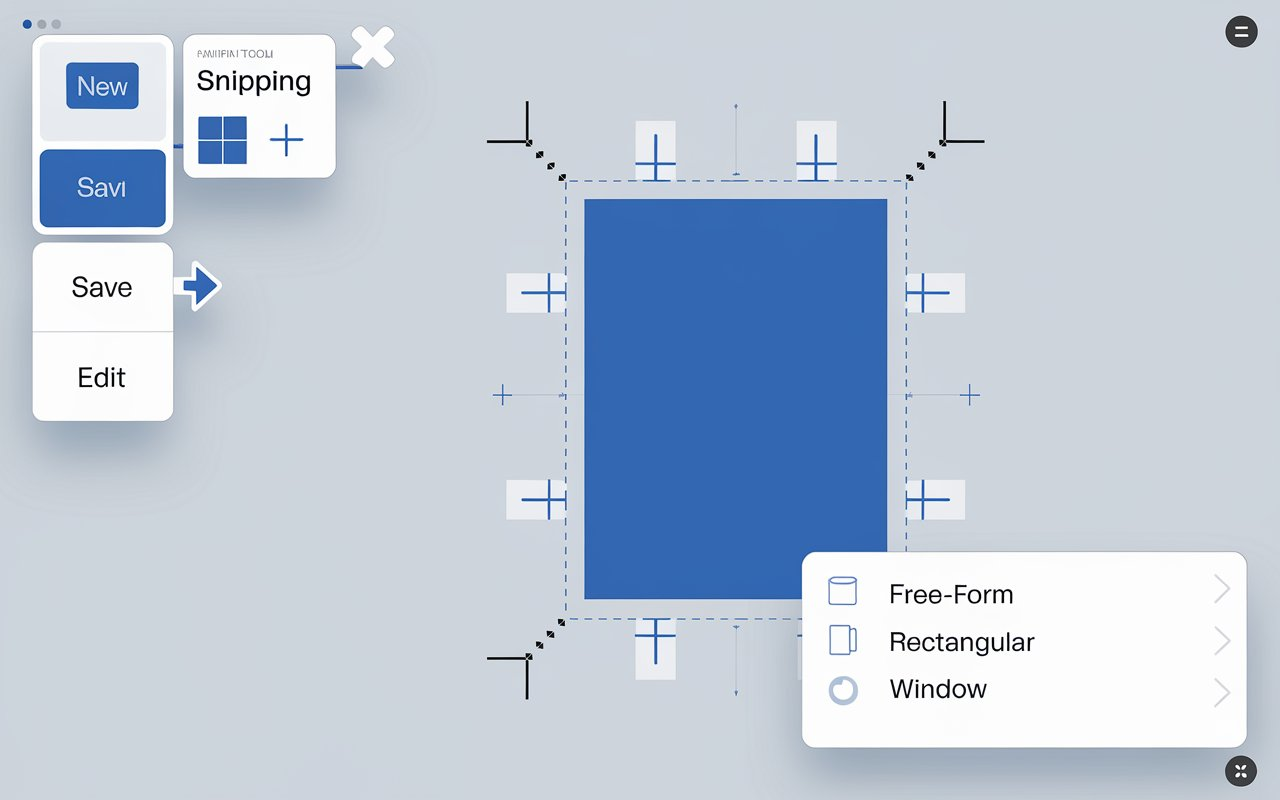
- Free-Form Snip: This feature allows users to draw a free-form shape around an object on their screen, capturing only the selected area.
- Rectangular Snip: The most commonly used snip type, this feature enables users to drag a cursor around an object to form a rectangle, capturing only that part of the screen.
- Window Snip: This option captures a screenshot of an entire window, such as a browser window or application.
- Full-Screen Snip: This feature captures the entire screen, similar to the Print Screen function but directly within the Snipping Tool Windows interface.
- Annotate and Highlight: Users can annotate or highlight parts of their screenshots using the pen or highlighter tools after sniping.
How to Use?
Using the Snipping Tool Windows is straightforward.Here’s a step-by-step tutorial to get you going:
- Open the Snipping Tool Windows: To open the tool, click on the Start menu and type “Snipping Tool” in the search bar. Choose the application from the results list.
- Choose the Snip Type: Click the “New” button, and a drop-down menu will appear, showing the available snip types. Select the desired snip type—Free-form, Rectangular, Window, or Full-screen.
- Capture the Screen: After selecting the snip type, the screen will freeze, and a crosshair cursor will appear. To pick the region you want to capture, use the cursor. Choose the application from the results list. For a Rectangular Snip, drag the cursor around the desired location; for a Free-form Snip, draw around the object.
- Edit and Save the Snip: Once captured, it will open in a new window. Here, you can use the annotation tools to add notes or highlight parts of the image. When finished, click the “Save As” button to save the snip to your desired location.
Advanced Features:
The Snipping Tool Windows has advanced features that enhance user experience and efficiency. For instance, users can set a delay for snipping, which is useful when capturing context menus or other interactive elements that require Time to appear. To use the delay feature, click on the “Delay” button and choose the number of seconds you want to wait before the snip is taken. This feature is handy for capturing drop-down menus or hover states that might otherwise disappear when using a traditional screenshot tool.
Moreover, the Snipping Tool Windows integrates with other Microsoft applications, allowing users to copy snips to the clipboard and paste them directly into documents, emails, or presentations. This seamless integration makes it a powerful tool for productivity and collaboration.
Snipping Tool Windows vs. Snip & Sketch:
With the release of Windows 10, Microsoft introduced a new tool called Snip & Sketch, which is considered an upgrade to the Snipping Tool Windows. Although both tools are used for taking screenshots, Snip & Sketch offers additional features such as more annotation options, better integration with other Windows features, and a more modern user interface. However, many users still prefer it due to its simplicity and ease of use.
To differentiate, while the Snipping Tool Windows focuses on basic screenshot functionality, Snip & Sketch is designed for users who require more advanced editing and sharing capabilities. Despite these differences, both tools are valuable, and users can choose the best fit their needs.
Tips and Tricks:
To maximize the effectiveness of the Snipping Tool Windows, here are some tips and tricks:
- Use Keyboard Shortcuts: Instead of manually opening the tool, use the shortcut Windows + Shift + S to open the snipping menu and choose the snip type quickly.
- Save Time with the Clipboard: If you only need to paste the screenshot into an application like Word or Paint, you can skip the saving step by copying the snip directly to the clipboard.
- Pin to Taskbar: For quick access, pin the Snipping Tool Windows to your taskbar. This saves Time and allows for quick screenshots without navigating through menus.
Conclusion:
The Snipping Tool Windows is an indispensable utility for anyone who needs to capture and share screen content quickly and efficiently. Its ease of use and powerful features, such as multiple snip types, annotation tools, and delay settings, make it a versatile tool for a wide range of users. Creating tutorials, documenting software issues, or sharing visual information with others provides all the functionality you need in a simple, easy-to-use package. With these capabilities, it’s no wonder the Snipping Tool Windows remains a favorite among Windows users.